Mastering DesignaKnit: Quick Tips for New Users

posted in: Designaknit 1

Getting Started with DesignaKnit (DAK)

I’ve been using DesignaKnit since Version 7, and honestly, every update just keeps getting better. Not only are the newer versions more powerful, but they’re also a lot easier to use and learn. If you’re just starting out, I definitely recommend using the most current version you can.

I see a lot of the same questions pop up in knitting groups and forums, so I thought I’d start sharing some simple DesignaKnit (DAK) tips here and there to help make things easier.


What Is DesignaKnit Software?

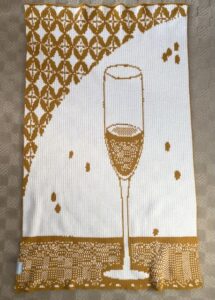
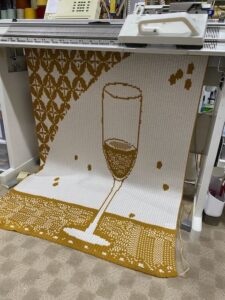
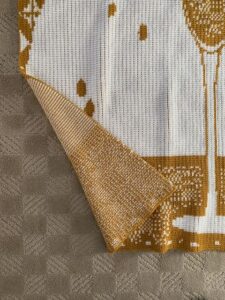
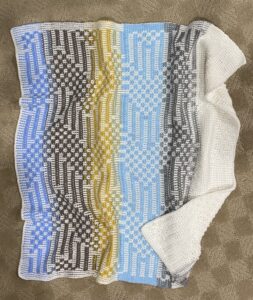
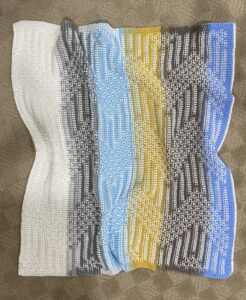
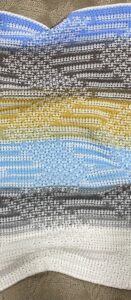
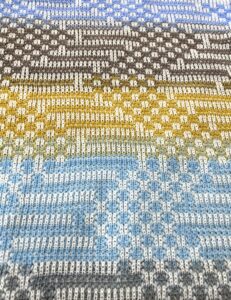
Designaknit is a software program that helps you create garments and stitch patterns for machine and hand knitting.

You can find more information, tutorials, and even a demo version on the Soft Byte Ltd website. The demo is a great way to test things out before purchasing.


Why You Might Feel Stuck Learning DesignaKnit

So you’ve got the software. You’ve watched a bunch of YouTube tutorials. But somehow… you still feel like you’re missing something and constantly looking things up.

Sound familiar?

You’re not doing anything wrong—this is super common. There are some great videos out there, but here’s the truth:

👉 You probably won’t fully understand DesignaKnit without studying the instruction manual.


The Secret to Learning DesignaKnit Faster

The instruction manual is where everything really clicks.

Inside the software, you’ll find manuals for each section under the Help menu. You can also download them as PDFs, which makes it easier to study at your own pace or even print sections if you like having something physical. There are also a few tutorials in the instruction manual.

Fair warning: the full manual is over 1,500 pages 😅

But don’t let that scare you—just focus on one section at a time as you need it.

How I Organize My DesignaKnit Manuals

What works best for me is keeping all the manual sections on my iPad and opening them in the GoodNotes app.

This makes it really easy to:

  • Bookmark important pages
  • Highlight key steps
  • Add notes

It saves a ton of time compared to digging around for answers later.


Final Thoughts

If you’re feeling frustrated with DesignaKnit, you’re definitely not alone. It’s a powerful program, and there’s a learning curve—but once it clicks, it’s worth it.

Start small, use the manual alongside videos, and don’t try to learn everything at once.

I’ll be sharing DAK tips soon to help you get comfortable faster!

Wine Glass Machine Knit Blanket

machine knit wine glass

Happy New Year and a blanket design to go along with it. :). I am sharing the Designaknit .stp and a .bmp (Wincrea) of my own hand drawn pattern design. I knit my blanket with a Passap E6000 knitting machine, but this pattern can be knit on any electronic machine with 200 needles. On the Passap, I used 2/24 yarn (double strand of each color). On Passap E6000 use tech 186 for extra wide large throw or tech 187 for smaller lap size. After the cast on (#3), I put both end needles on the front bed for tech 186. Needles 88-0-88. 176 stitches. 1000 lock passes. (250 pattern rows on Wincrea). When the blanket is done, I use this cast off method.

The finished blanket size is approximately 60″ wide by 71″ long after washing (if knit on Passap with Tech186 with 2/24 yarn doubled). Technique 186 will finish out extra wide after washing. This is a great size for an adult throw.

I am sharing my pattern file for Designaknit (.stp) and Wincrea (.bmp) Click here.

The “not so fine” print: Do not claim this pattern/digital file as “your” design. Do not share my pattern file or post the digital file online unless it is by sharing the URL link to my website/blog post. You can knit this blanket to sell. Items are knit to sell by small business less than 500 items a year…. I always appreciate sharing of my website name, Herman Hills Farm, when sharing your finished knitted items. …Just hoping others will find some use of my blog/tutorials too. Machine knitting is a dying art. 🙁 Thank you.

passap wine glass blanket
passap new year blanket

Simple Marl Baby Blanket

passap machine knit blanket

I bought the book, “Making Marls,” by Cecelia Campochiaro when it was first released in 2020. I have knit several items using the marl technique. While this technique is not new, I found the book to be inspiring and full of ideas. The marl technique is a great way to use up odd ends of cone yarn. Though the book goes in depth explaining different marls and complex sequences, the basic concept is to use multiple strands of yarns/colors at a time to blend colors.

My blanket pattern is knit with 2/24 yarn doubled. Color 1 stays the same throughout (in eyelet #1). Color 2 is the blending color and the solid color (color #2 in eyelet 2) in the strip. Blending is done by have 2 different colors of 2/24 in eyelet 2. By using these two colors together for a few rows, you will be blending/transitioning color before changing to 2 strands of same color in the eyelet. The photo is probably a better way of seeing this as explaining it in writing is a bit complicated.

passap knit blanket

I remembered seeing an article in an old knit magazine about this concept (Machine Knitters Source Jan/Feb 2001 Vol 17 No. 100) and had kept the page marked for future reference. The article is written for Passap but the marl technique can be knit by hand or on any machine. I have knitted several marl blankets to use up leftover yarns. I used 2/24 doubled. I really like tech 186 because the front and back both have great texture. Technique 186 is nice for blankets because of the wide width and drape of the fabric. You can knit this marl pattern with a different Passap technique. The way of blending colors will be the same.

Blanket Details

I knit my blanket on Passap E6000 with Tech 186 double bed and built in console stitch pattern 1071. Needles 60-0-60 and 600 lock passes on the lock row counter. After washing, Tech 186 widens a lot. As you can see in the above photo, I have turned my blanket sideways. Tech 186 knits a wide fabric even with only 120 needles in work. The photo below is how it came off the machine with the horizontal stripes.

close up of passap blanket

This is a two color project. Eyelet #1 will always be white (or what ever color you choose as your main/background color). Eyelet #2 will be the colored stripes. Cast on and knit with 2 strands white for several inches with white in eyelet #1. I wanted one large section of my main color (white), so I am not going into the color changer to change colors.

After knitting my section of solid white, I started going into the color changer to make my stripes. (You will go into the color changer each time the lock is on the right side of the bed for the rest of the blanket).

Thread eyelet #2 with one strand of white and one strand of black. This will make the white blend into the black (marl). Knit with eyelet #2 for as many rows as you wish to blend the colors. I knit usually knit 4-8 rows of the “marl” color.

Thread eyelet #2 with 2 strands of black yarn and knit this solid color for several inches.

Now you are ready to blend to your next color. Take one strand of the black out of eyelet #2 and replace it with one strand of your next color. (Mine was light blue.) Knit about 4-8 rows with these colors then take the black yarn out of eyelet #2 and replace it with blue to knit the blue strip.

You will continue knitting this way blending each color together as you come to a color change. The photo below shows a close up of the color changes. If you look closely, you can see how the blue and yellow almost blend to green in the section where there is one strand of each in eyelet #2.

machine knit blanket close up

Pattern Outline

Knit several inches background color (color in eyel 1).

Thread eyelet #2 with one strand background color, one strand of stripe color and knit 4-8 rows going into color changer when lock is on right.

Thread eyelet #2 with two strands of solid stripe color (both strands same color). Knit several inches.

Thread eyelet #2 with one strand of new stripe color to blend into next color.

Thread eyelet #2 with 2 strands of new color (both strands are same color)….

I made all of my color changes at the edge of the fabric. Ends were sewn in after the blanket was off the machine.

Continue until blanket is length you want. Be sure to wash your blanket as T186 changes a lot with washing and drying.

1 2 3 4 65