Lambs
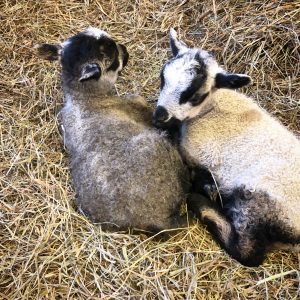
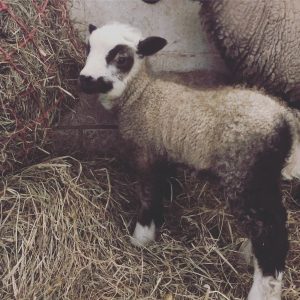
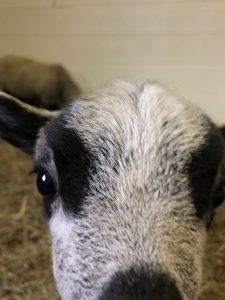
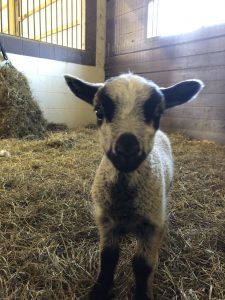
We have 4 lambs so far with more to come. If you are looking for registered fine wool/single coated Shetlands contact me via the “contact us” page or leave a comment.
Machine Knitting and everything else...
We have 4 lambs so far with more to come. If you are looking for registered fine wool/single coated Shetlands contact me via the “contact us” page or leave a comment.


It is mid winter and looking forward to spring and lambs. I will have Shetland lambs available early summer.
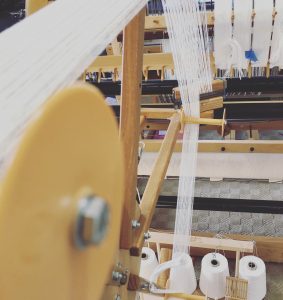
Beaming on a towel warp. More details to come….
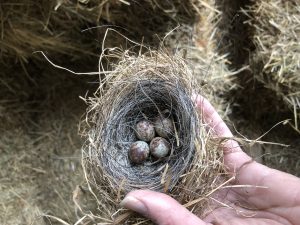
This tiny nest was tucked in between some bales of hay I was getting down for the horses. I am not sure if this is an old nest or something recent…
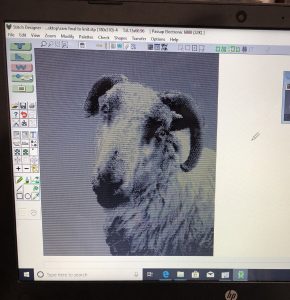
(Above) Designaknit stitch pattern for a 4 color jacquard knit.
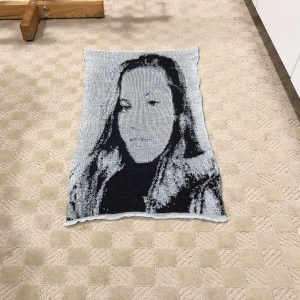
This is a tutorial for editing a photo and turning it into a .stp file in Designaknit knitting software.
Here are the steps to edit a photo.
Step1. Remove background from the photo.
Step 2. Add a layer which will be a color (not in photo). This will be the new background.
Step 3. Make photo black and white.
Step 4. Edit the exposure and add blacks.
I use Adobe Photoshop and Adobe Lightroom (for Mac) to edit my photos but there are some great free Adobe apps (Adobe Photoshop Mix and Adobe Lightroom CC). These apps work for iPad and iPhone. Use the Adobe Mix to remove the background/add color background and the Adobe Lightroom for editing the color/exposure.
After your photo is edited, open the photo in Gimp. (Gimp is a free PC photo editor) On top menu bar go to: filters/blur/pixilize and change all numbers to 1. (This can be seen in Hazel Draper’s video https://www.youtube.com/watch?v=MlYffm1_G8o&t=117s ) Then export your photo as shown in video.
Open photo in Designaknit (DAK) Graphics Studio.
Once your photo is imported in DAK, you can just click the Wizard to do the rest. I don’t change much in DAK. You can look at the birdseye to see if more or less looks better. I usually merge the boundaries and make sure it is 4 colors. You can always go back and change these settings.
When you are on the page with the yarn color/wool box, you can mess around with combining colors using the small left dropper. This is the only part of the process that may take time depending on how you want your image to look.
Once you are done editing in Graphics Studio, click “ok” to save and the image will open as a stitch file in Stitch Designer. You can now remove things you don’t like from your stitch pattern. I removed the ear tag from the sheep in Stitch Designer…even though it also removed the ear which was behind the tag BUT I wanted the eye on the left to show up better and had to do without an ear. lol I bet no one will notice once it is knit though.
Tip: You may need to rescale your image. You can do this in DAK or Gimp. Remember knit stitches are not squares (as shown in DAK) and your image may end up being elongated when knit. I usually rescale in DAK Stitch Designer. In top menu bar click: modify/rescale . Unclick the “maintain aspect ratio” box in Stitch Designer. Delete rows to squish pattern a bit. You will need to guess a bit on this. It will elongate once knit. If there is a secret formula for this, please let me know! lol
Step 4 is probably the most important step for editing the photo. You want to edit so that the pupil and iris of the eye is very clear. So you will over expose the photo by turning up the exposure. The photo will get lighter… Then you need to darken everything by adding quite a lot of black with the “blacks” adjustment. You will see adding the darks will even darken the eyes for more definition.
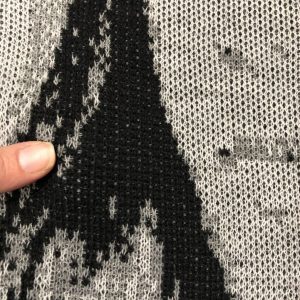
The knit below was knit in 3 colors T195 Passap E6000 double bed jacquard.
Happy knitting!!
